A quick walkthrough of building a shoot schedule from scratch.
Steps
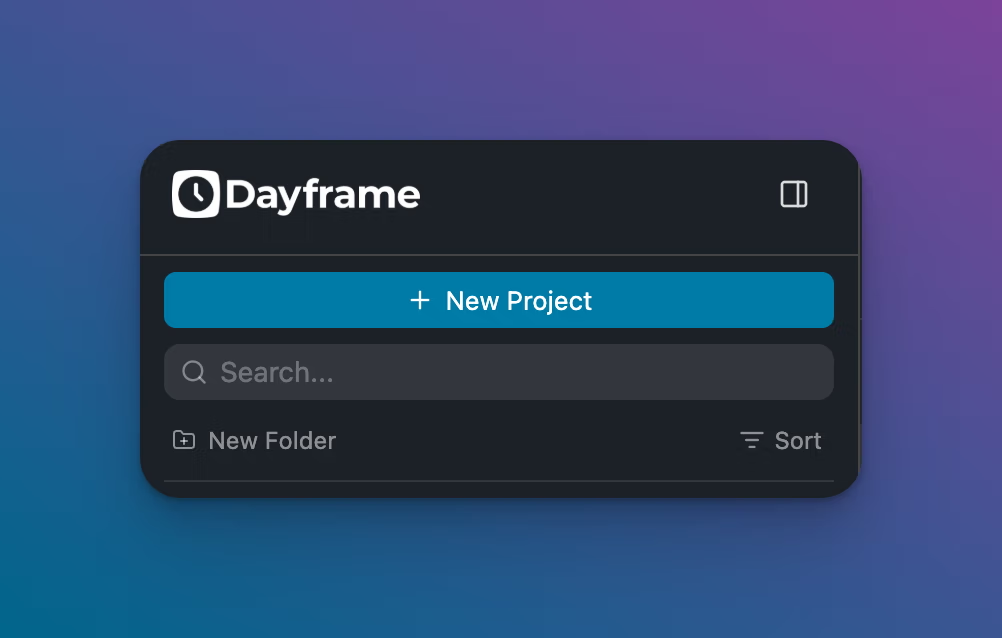
Click + New Project in the top-left corner of the sidebar.
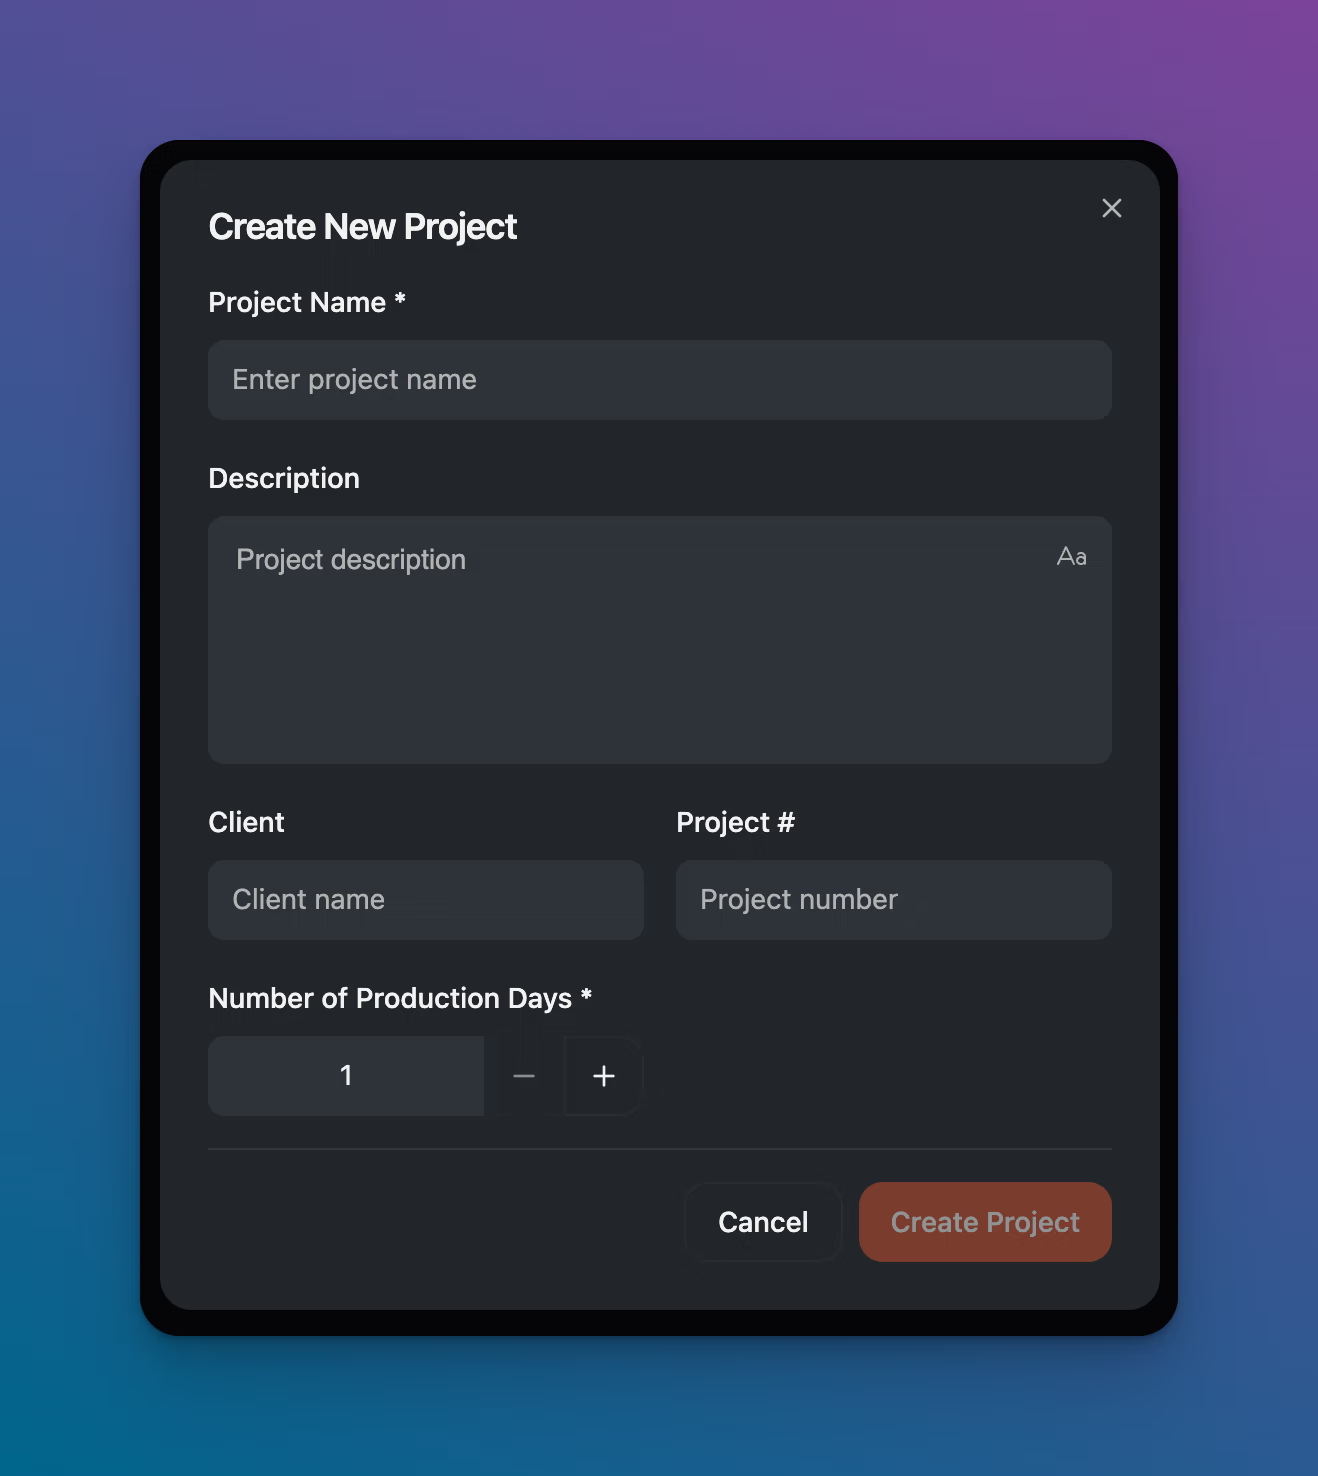
Fill in the project details:
Project Name(required) — the name of the production (e.g., "Acme Product Launch").
Description — a brief summary of the shoot. This appears at the top of the schedule and in the PDF export.
Client — the client's name. Also displayed in the schedule header and PDF.
Project # — your internal project or job number.
Number of Production Days(required) — how many shoot days this project covers. You can add more days later.
Click Create Project.
You'll land on an empty schedule with a timeline on the left and your first lane column. From here:
Add lanes for your departments by clicking the + button at the top-right of the lane headers. Each lane represents a department or crew role (e.g., Camera + G&E, Sound, HMUA, Talent). When you add a lane, you'll set its name and configure its indicator lines (Call Time, Meal Break, Overtime).
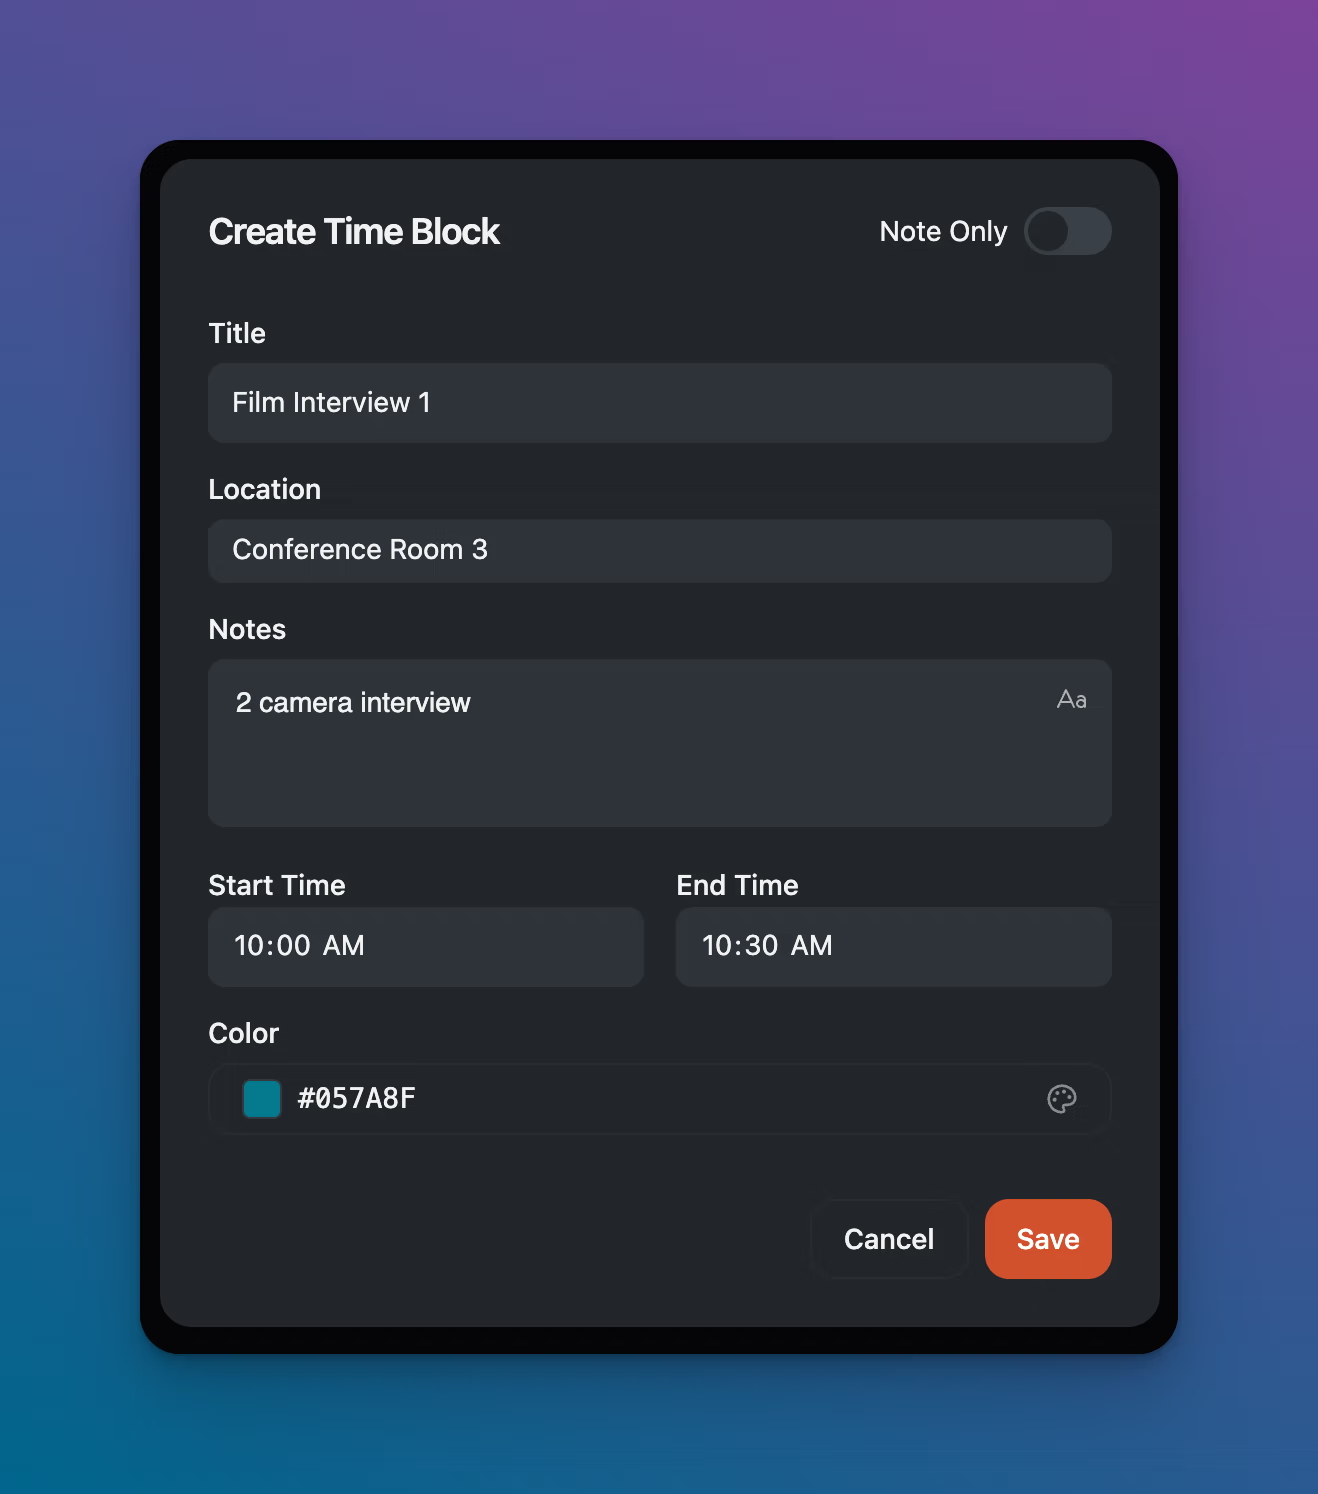
Add time blocks by clicking on the timeline within a lane. Each block has a title, optional location and notes, start and end times, and a color. Fill in the details and click Save.
Keep adding blocks until your day is built out. Drag blocks to reorder them — moved blocks' times adjust automatically.
Tips
Start with your major structural blocks first: load-in, meals, and wrap. Then fill in the scenes and setups between them.
Use the Description field in the project setup — it shows up in the schedule header and PDF export, which helps when you're managing multiple projects.