Navigating the Dayframe Interface

Published on
April 10, 2026

Where everything lives — the sidebar, timeline, toolbar, and schedule settings.

The sidebar

The left sidebar is your project browser. All your projects are listed here, organized into folders. Use the Search bar at the top to find a project by name, or click New Folder to organize projects into groups.

Click any project to open it. The currently active project is highlighted.
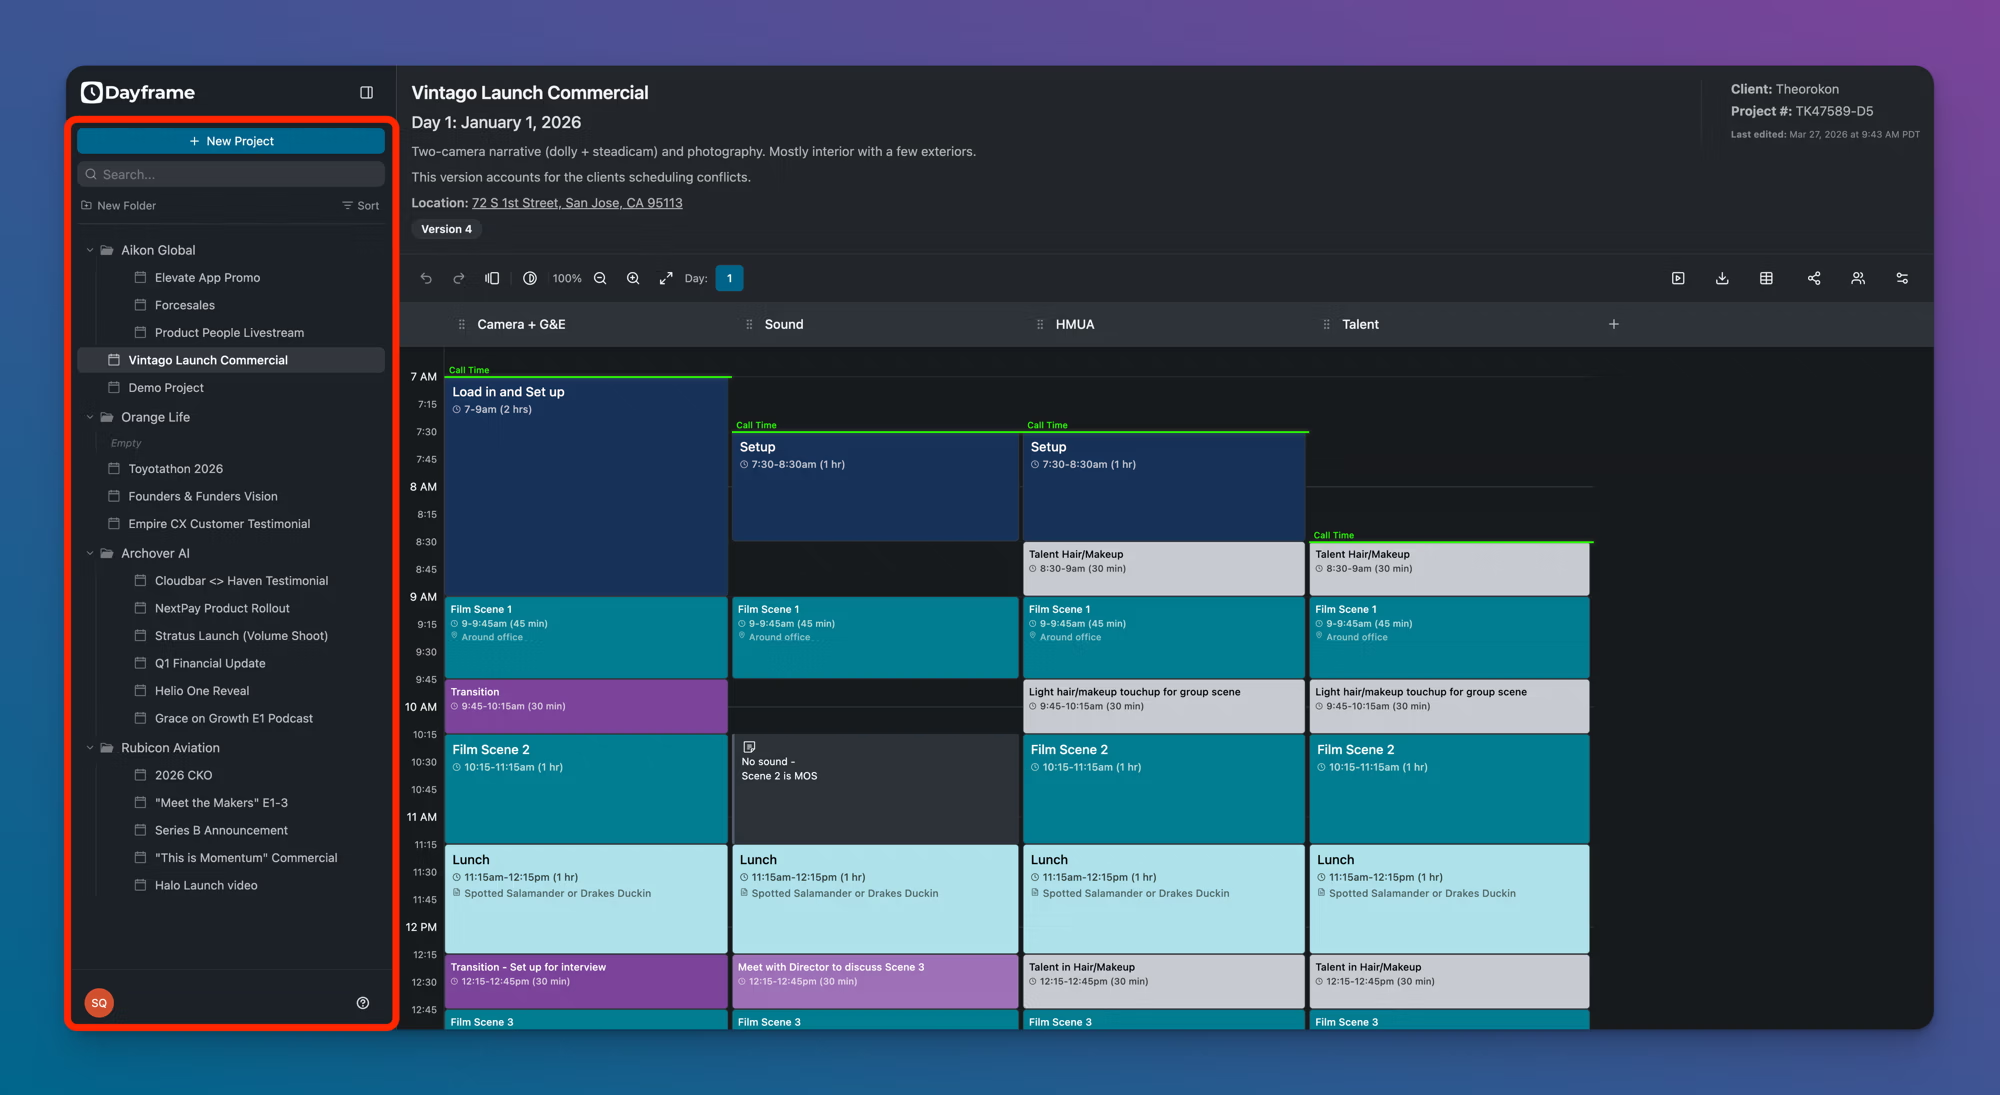
Dayframe with left side bar highlighted

The schedule header

At the top of the schedule, you'll see the project name, shoot day and date, description, and location. The Client name and Project # appear in the top-right corner along with the last-edited timestamp.

Below the header, the Version badge shows which version of the schedule you're viewing.

The toolbar

The toolbar sits between the schedule header and the timeline. Here's what each control does:

Left side:
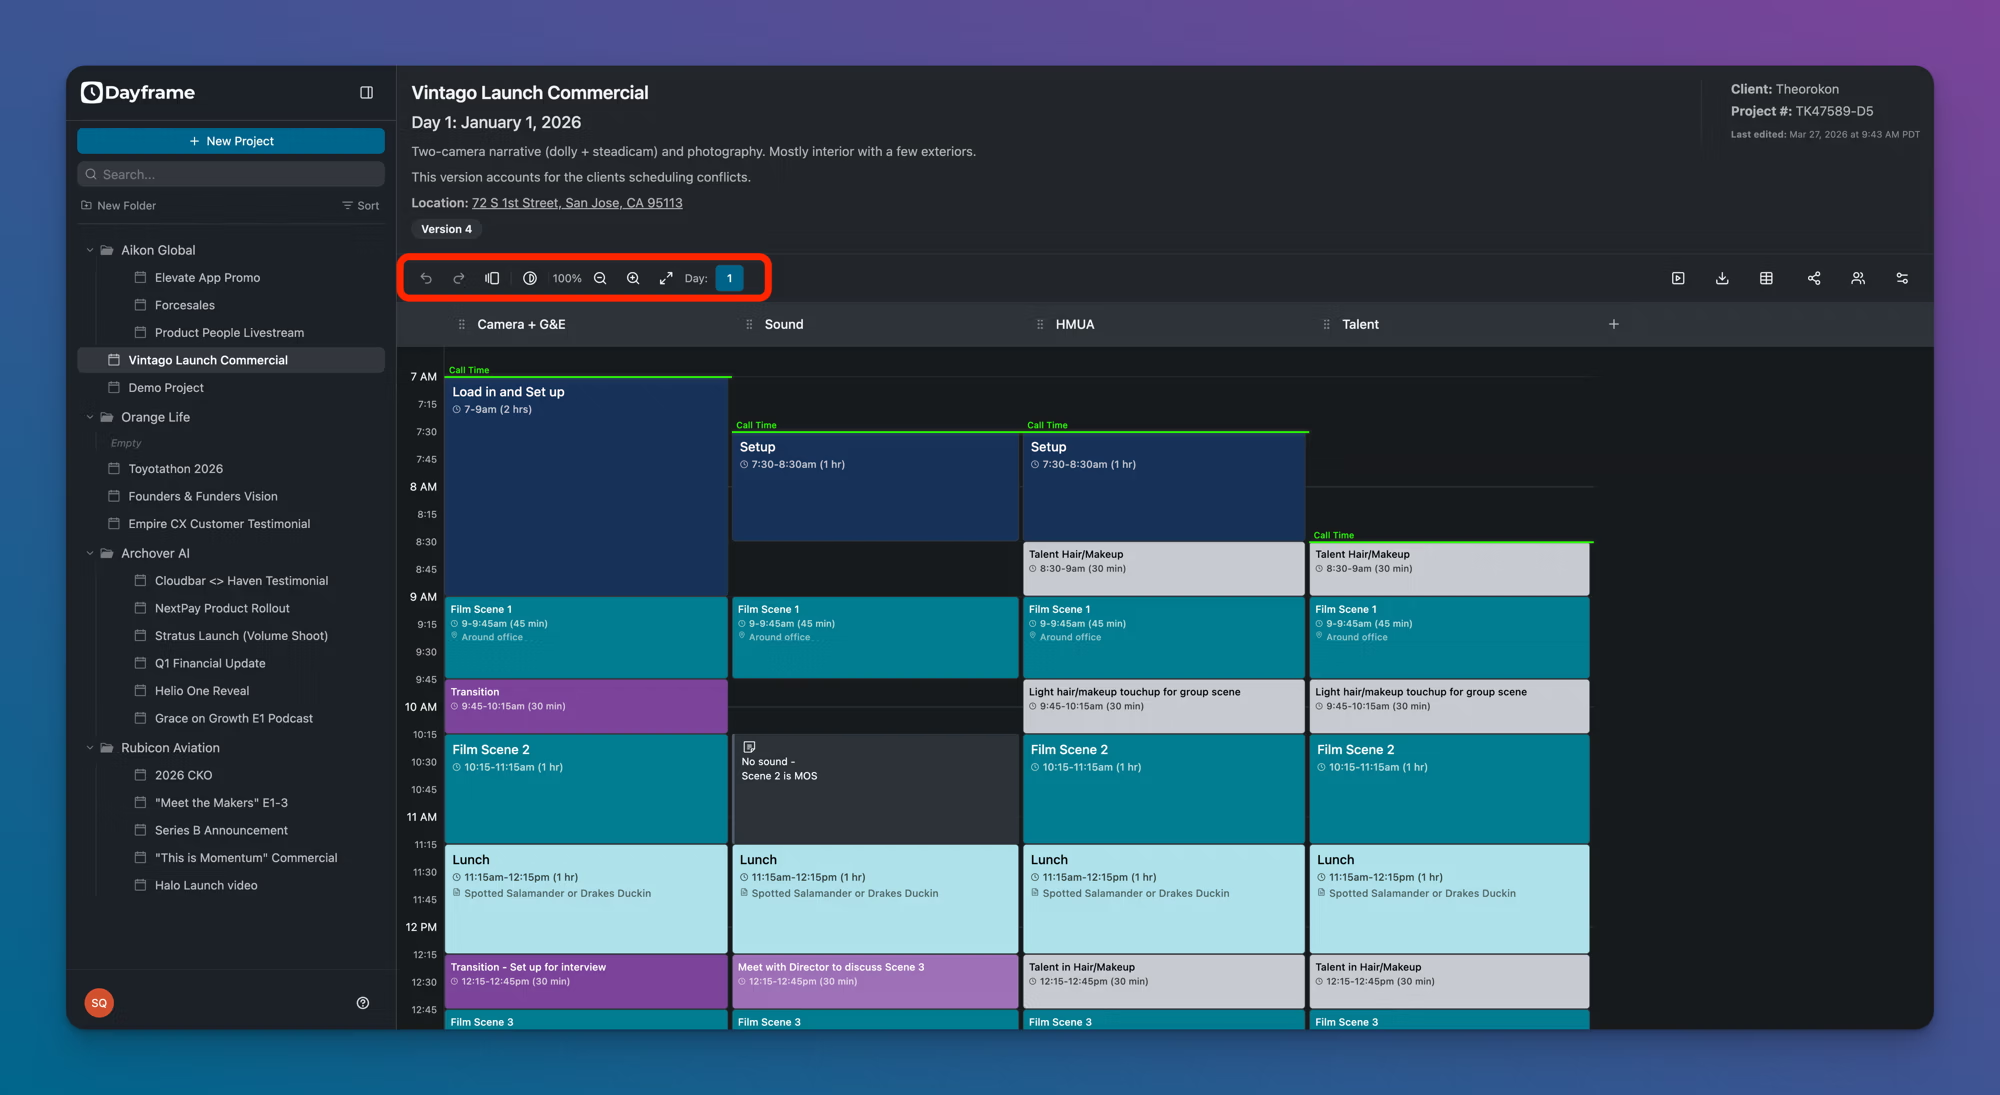
  • Undo / Redo — step backward or forward through your recent changes.
  • Versions — save new versions of your schedule or switch between existing ones.
  • Light/Dark Mode — toggle the schedule display between light and dark themes.
  • Zoom — zoom in or out on the timeline. The percentage shows your current zoom level.
  • Fit to window — auto-fit the schedule to your screen.
  • Day selector — switch between shoot days on a multi-day project.
Left side toolbar in Dayframe

Right side:

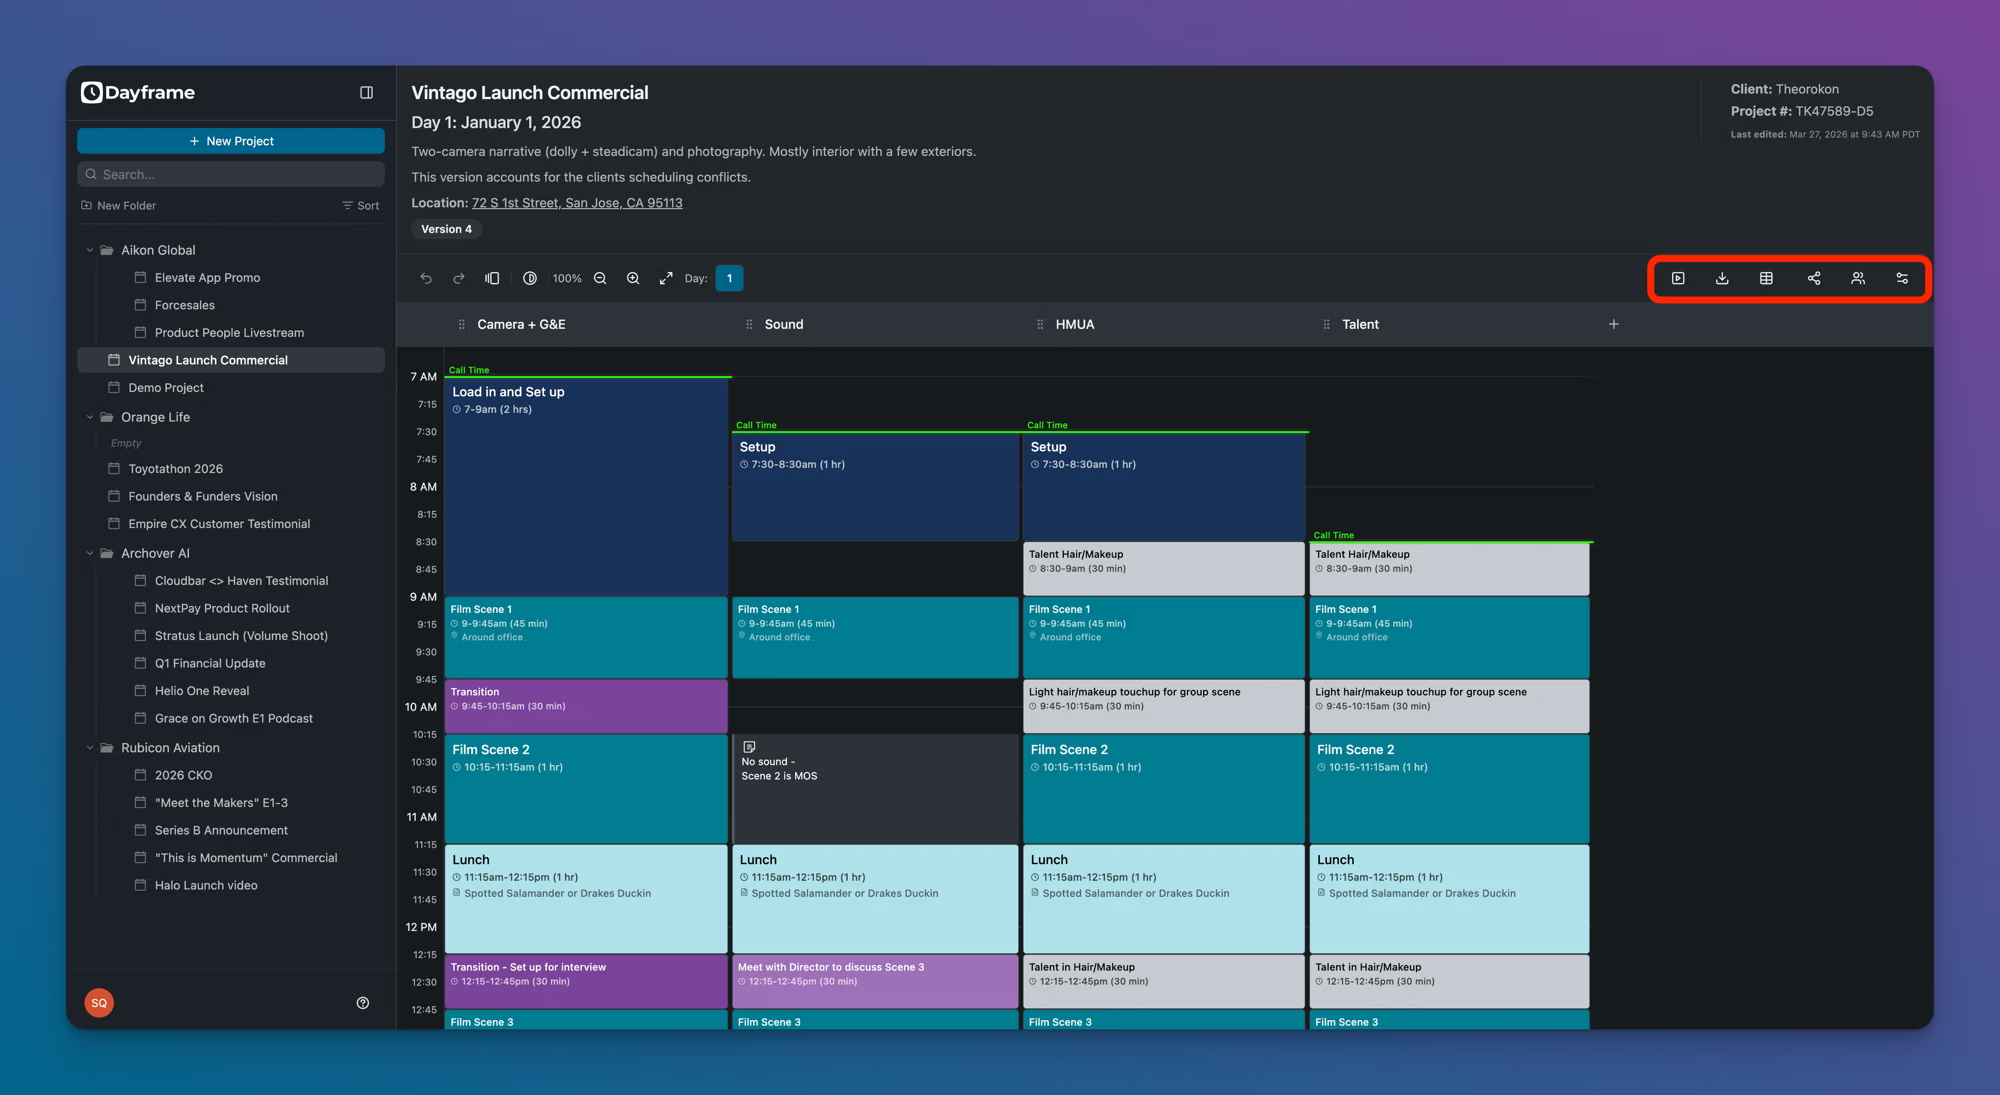
  • Show current time — displays a line on the timeline marking the current time of day.
  • PDF Export — export the schedule as a clean PDF.
  • Schedule overview as a text list — view the schedule as a simplified text-based list.
  • Create share links — generate view-only links to share with crew or clients.
  • Manage collaborators — add or remove collaborators who can edit the schedule.
  • Schedule Settings — configure production days, dates, display start/end times, and day-level notes.
Right side toolbar in Dayframe

The timeline and lanes

The main area of the screen is the timeline. Time runs vertically (earliest at the top), and each column is a lane — a department or crew role.

Time blocks appear as colored rectangles in each lane, showing the block title, time range, duration, and any location or notes. Call Time indicators appear as green labels at the top of the first block in a lane. Overtime indicators appear as a colored line at the point where a lane's hours exceed the threshold you've set.

Drag blocks to reorder them. Move a single block or select a group — the moved blocks' times adjust automatically. Surrounding blocks are not affected.

Tips

  • Use the Fit to window button if your schedule looks cramped or you've zoomed in too far. It resets the view to show the full day.
  • The Day selector in the toolbar is the fastest way to jump between days on a multi-day shoot.

Related